Chill out at Ventura California
Chill out at Ventura California Ventura Beach has gone above and beyond for my expectations….
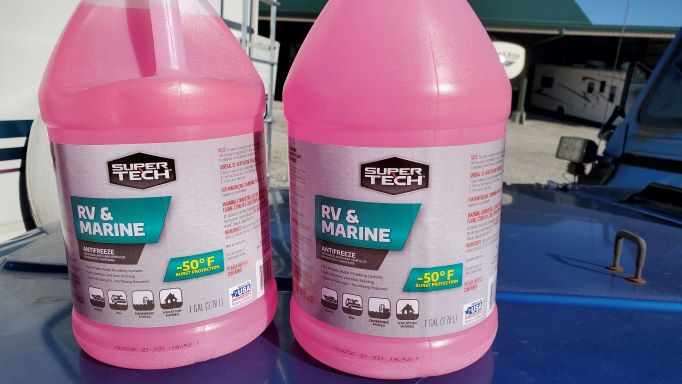
Well, it is that time of year again. The time of year that saddens me more than any other time of year. Time to winterize the camper for the season. Temps are starting to dip below freezing at night. This is a reminder that camping season has ended for us and the long, dark, cold winter is just around the corner.
If you are like me, you would rather just head South for the winter and not even have to think about winterizing. Unfortunately, the wife, kids, and I all are still working and are still in school. So, this is not an option for us. Leaving us to have to winterize the RV.
I have seen a lot of people asking how to properly winterize the RV. Now I am not an expert at anything but I figured I would share the simple way we winterize and maybe it will help some people out. We do not have a washer or outdoor shower. We also do not have an ice maker. So, I am not sure how you would go about winterizing if you are equipped with those. I would refer to your owner’s manual and possibly YouTube for techniques.
I prefer to use the RV antifreeze. Some people prefer to hook up to airline to the fresh water supply line and blow out the lines. I have always been told the best practice is to use the antifreeze so that is what we are going to cover today.
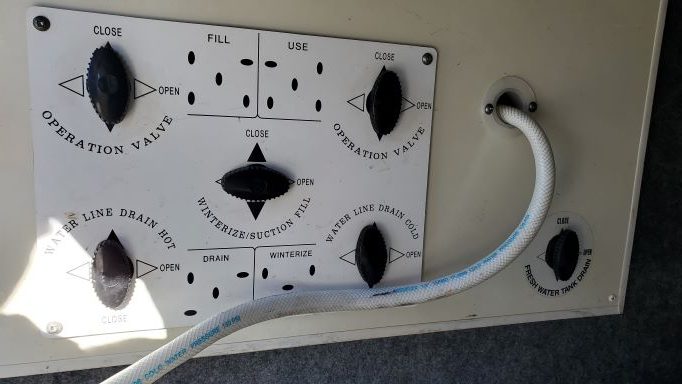
We have a 1999 Coachman Mirada and there is a panel for filling tanks, draining the tanks, using the water, and to winterize.
First you are going to want to make sure you have drained your fresh water tank, lines, and hot water heater, and low point traps that have a drain. Basically, get as much water out of the system as possible.
Follow the on-panel directions to set it up to pull from a hose and not fill the fresh water tank. You do not want to fill your fresh water tank with antifreeze. You only want the lines to pick up the antifreeze out of the bottle.
Next you will want to put the pickup hose inside a bottle of RV safe antifreeze. After you get the bottle hooked up with the pickup tube you are going to want to place the bottle in a area that can be viewed. I use a small table placed where I can see the antifreeze bottle in my side view mirror.
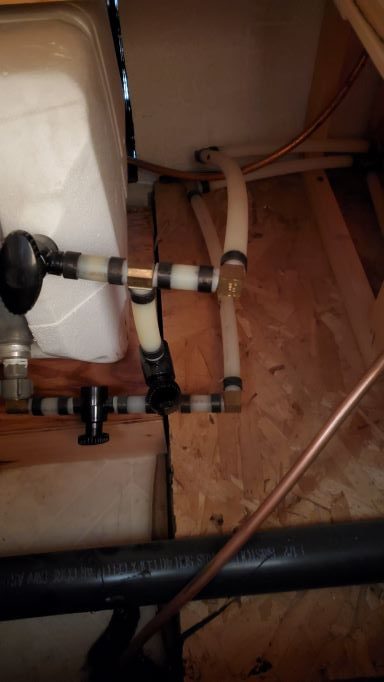
You are going to need to find the access point to your hot water heater. Ours is behind the dresser, you access it by pulling out a drawer. Once you find your hot water heater you are going to see 3 valves on the lines. Shut off the upstream and downstream lines. These can be identified by lines going into and exiting the hot water heater. Then open the bypass valve, this can be identified as a hose connecting the upstream and downstream hoses. This is going to allow antifreeze to fill the lines without filling the hot water heater.
On the hot water heater itself, it should be drained by this point. I like to remove our Anode Rod at this point and check it to see if it needs replaced. This ensures there is no water in the system, plus is a great time to replace the rod if needed.
Next you will want to turn on your pump. This is the same pump used to turn on you shower or facets. Since you have the fresh water tank shut off, hot water tank shut off, and no city water hooked up. The pump will pull from the bottle of antifreeze.
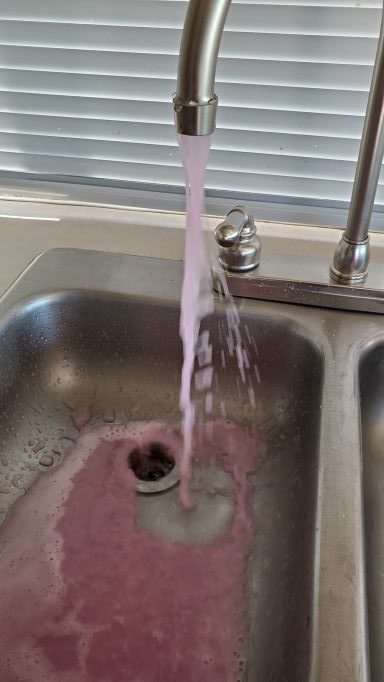
Once you turn on the pump, the lines are going to fill with antifreeze. You need to go to the furthest faucet from the pump. Turn on cold and wait for the water to come out, then you will start to see the pink antifreeze flow. The do the hot side. Do this same sequence for all faucets, showers, and toilets. Working your way back to the pump.
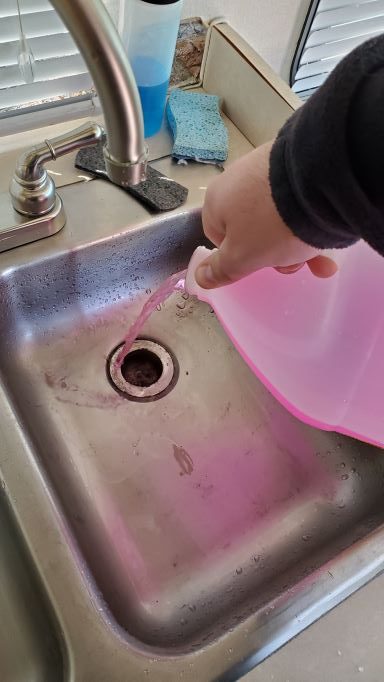
Once all the lines are running a good flow of pink through them. Take a gallon or so of RV antifreeze and pour it into the drains of the shower and all facets. This will fill the P-traps with antifreeze an ensure they will not freeze over winter.
None of the rest of this post is a “Must Do” but It is definitely maintenance that I like to do for the winter and you might like as well. I like to go ahead and drain my grey and black tanks. Give them a good rinse and flush. Trying to make sure I have all the waste out of them and they are good for the winter.
Next I like to give the Motorhome a fresh oil change and grease job. Making sure that I grease all grease zerks on the unit. after the fresh oil, filter, and grease is in the unit. I like to check the freeze point of the coolant. Check and top off all fluids. Check air filter, belt, tires, u-joints, and fuel filter. If your unit is equipped with a power steering filter and a coolant filter, I would change those now as well.
After that I like to go and top off the propane for the winter and the fuel. I do this because all winter long I like to let the engine and generator run for 30 minutes a month. This lets everything stayed lubed and the batteries stay maintained.
Last, I leave the fridge doors open to ensure there is no moisture or mold that grows. I take out any food we have left in the camper. Remove all things that a mouse would like to make a bed out of. I lock up the RV and cry a little as I walk away.
I am not saying this is the only way or the best way to winterize. This is just how I like to do mine and I thought maybe it could help somebody save a little bit of money!
Chill out at Ventura California Ventura Beach has gone above and beyond for my expectations….
Getting Poked at Joshua Tree National Park Palm Springs/Joshua Tree KOA Holiday Desert Hot Springs…
Slowly melting at Saguaro National Park Saguaro National Park was no disappointment! It is amazing…
White Sands National Park: Nature’s Playground WE FOUND SNOW IN NEW MEXICO!!!! Nah not really,…
Guadalupe Mountains National Park Our last stop in Texas during our 2024 Summer of Sunscreen…
Exploring Carlsbad Caverns: An Unforgettable Adventure Here we are in New Mexico. We are about…